QUESTION 4 - HOW DID YOU USE NEW MEDIA TECHNOLOGIES IN THE CONSTRUCTION AND RESEARCH,PLANNING AND EVALUATION STAGES?
WEEBLY
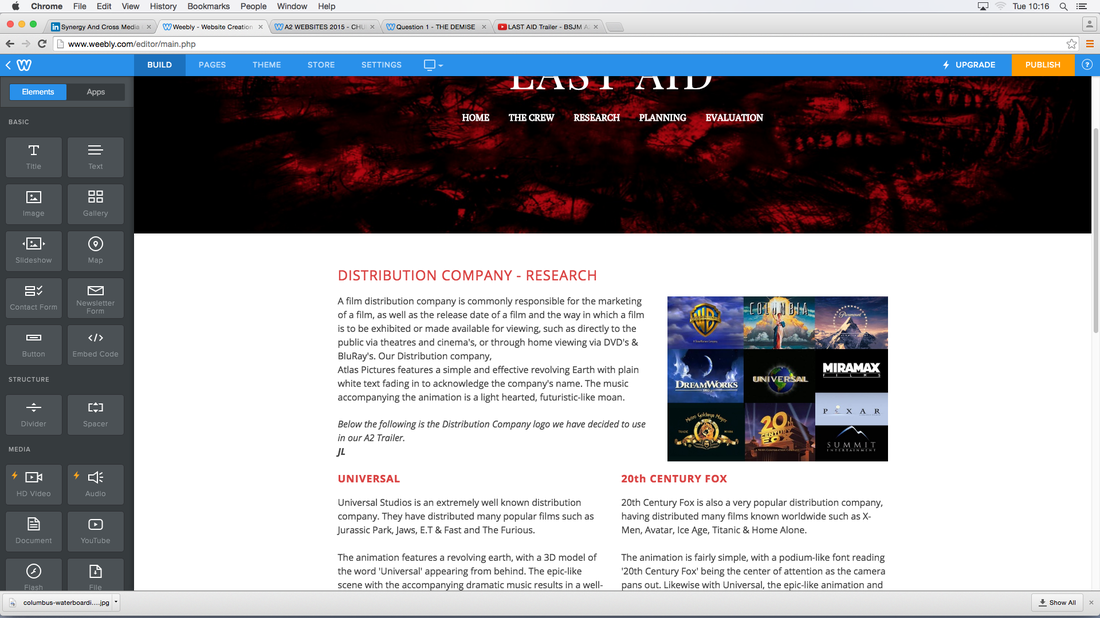
Weebly is the place where we upload all of our content and this is how you are reading this now, but we have also used Weebly for many other reasons - we used this site to collect a large amount of research for the trailer and other pieces we have made, it allowed us to keep a portfolio of all of the assignments and task work that needed to be completed. Weebly is a very interactive site that is an adventure in itself, it allows you to present any and pretty much all of your work in a more professional manor. In context with the question in the construction stages weebly allowed us to build the main structure for our course work. Weebly was the place in which we kept all of our footage all of our images and all of the blogging for our progress. For Research weebly was the place in which we documented everything that brought our project together, the images and information was all gathered from the internet so that we could compile somewhat a massive bibliography, detailing every stage of our adventure. In the planning stages we used planning stages we used weebly in order to lay out our ideas and document any theories for the trailer, we noted down all of the props we used and also created pages for a risk assessment and some experimentation. Finally, for evaluation we used weebly to bring all of our progress together and present it as one, once the website was finished we could thoroughly see how well we had made progress.
|
|
FINAL CUT PRO
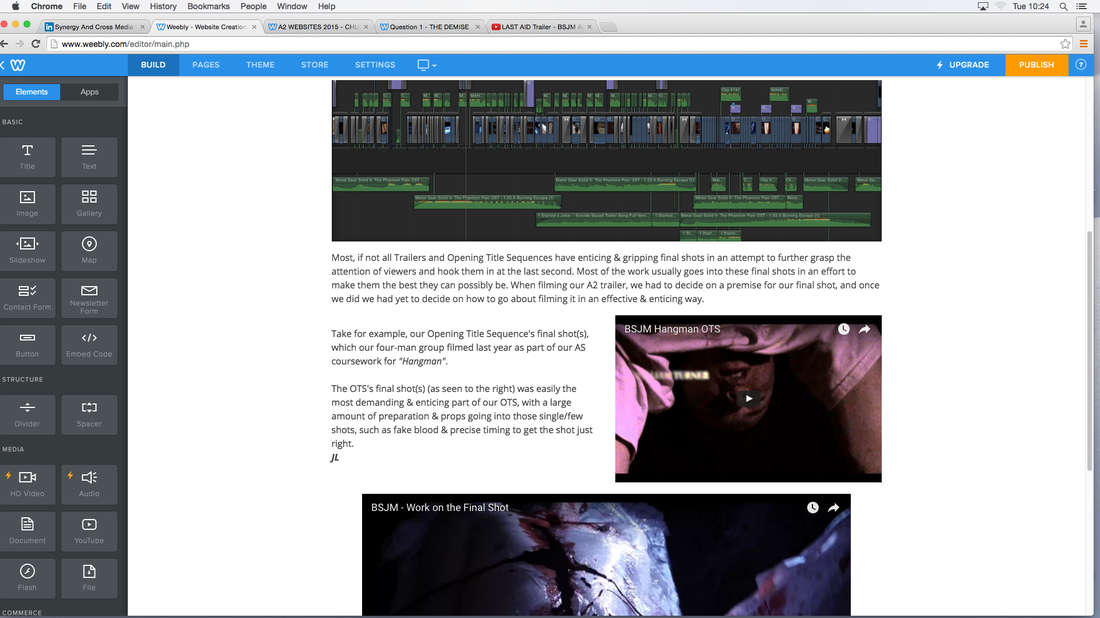
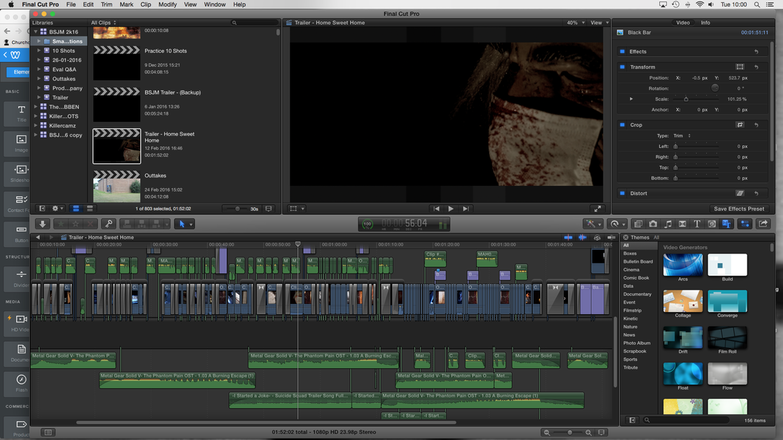
This is a key piece of technology which we used to compile all of our footage for our trailer, this software allowed us to take our basic raw clips and then enforce all of the editing techniques we were taught. Starting with the basics adding effects such as adding things like transactions to the shots to improve effects and lengths, We then also added things like effects to improve the shots quality as well as the different things the shot contained.In the example above you see how we took a basic shot and added an effect known as "crisp contrast" this effect was added to the shots we used blood in because it made the blood seem scarier by making it a more realistic colour and making the rest of the room darker and gloomy. Unlike in AS where we would just compile a few clips and add some audio in A2 the timeline begins to liven up, hundreds of clips with plenty of assorted transitions and lots of cut up audio was used in order to make the jump. The timeline in comparison begins to look a lot more professional and up to a higher standard.
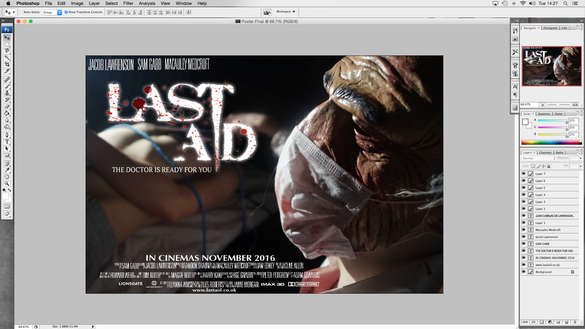
Photoshop
Photoshop is the place where we edit and finalise any image that we use for our project, for example we have used photoshop to edit the cover photos for our poster and magazine. It is quite a complicated piece of software but when you start to use it a bit and get to know all of the options and techniques you will find it fairly easy to produce a fairly decent end product. We only used photoshop for a short period of our time, for simply constructing the poster and magazine compiling our main photo with related text. We didn't use Photoshop in our research stages however in our planning event we built a photoshop experiments page, showing all of the practise we had and all of the funny images we created in the progress.
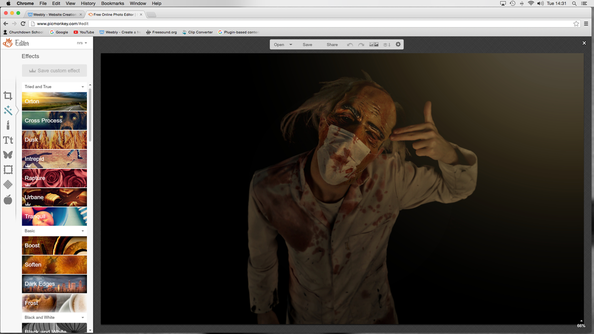
Pic Monkey
PicMonkey is the application we used to add special effects to our poster and magazine, it made editing photos a much easier job. It is an easier and more accessible alternative to photoshop, giving you a much easier editing experience. We specifically used PicMonkey to add a burnt or dark yellowish effect to our magazine as the image we chose was slightly too bright, in the image below is the example i have mentioned. If we had never used PicMonkey we would of had a hell of a time editing our magazine and poster as the software itself is very complicated and time consuming.